
What follows is my tutorial for linocut carving, which is basically carving an image into soft linoleum, rolling ink over it and printing it onto a piece of paper. This is a fairly inexpensive craft as block printing ink can be used on almost any kind of paper, a linoleum block can cost as little as 2$ at your local art store, depending on size (you will NOT find it at a craft store), and a carving tool, with all the requisite blades, can be had for around ten to fifteen dollars. The ink can be bought for less than five dollars. Almost everything else, you likely have in your house already.
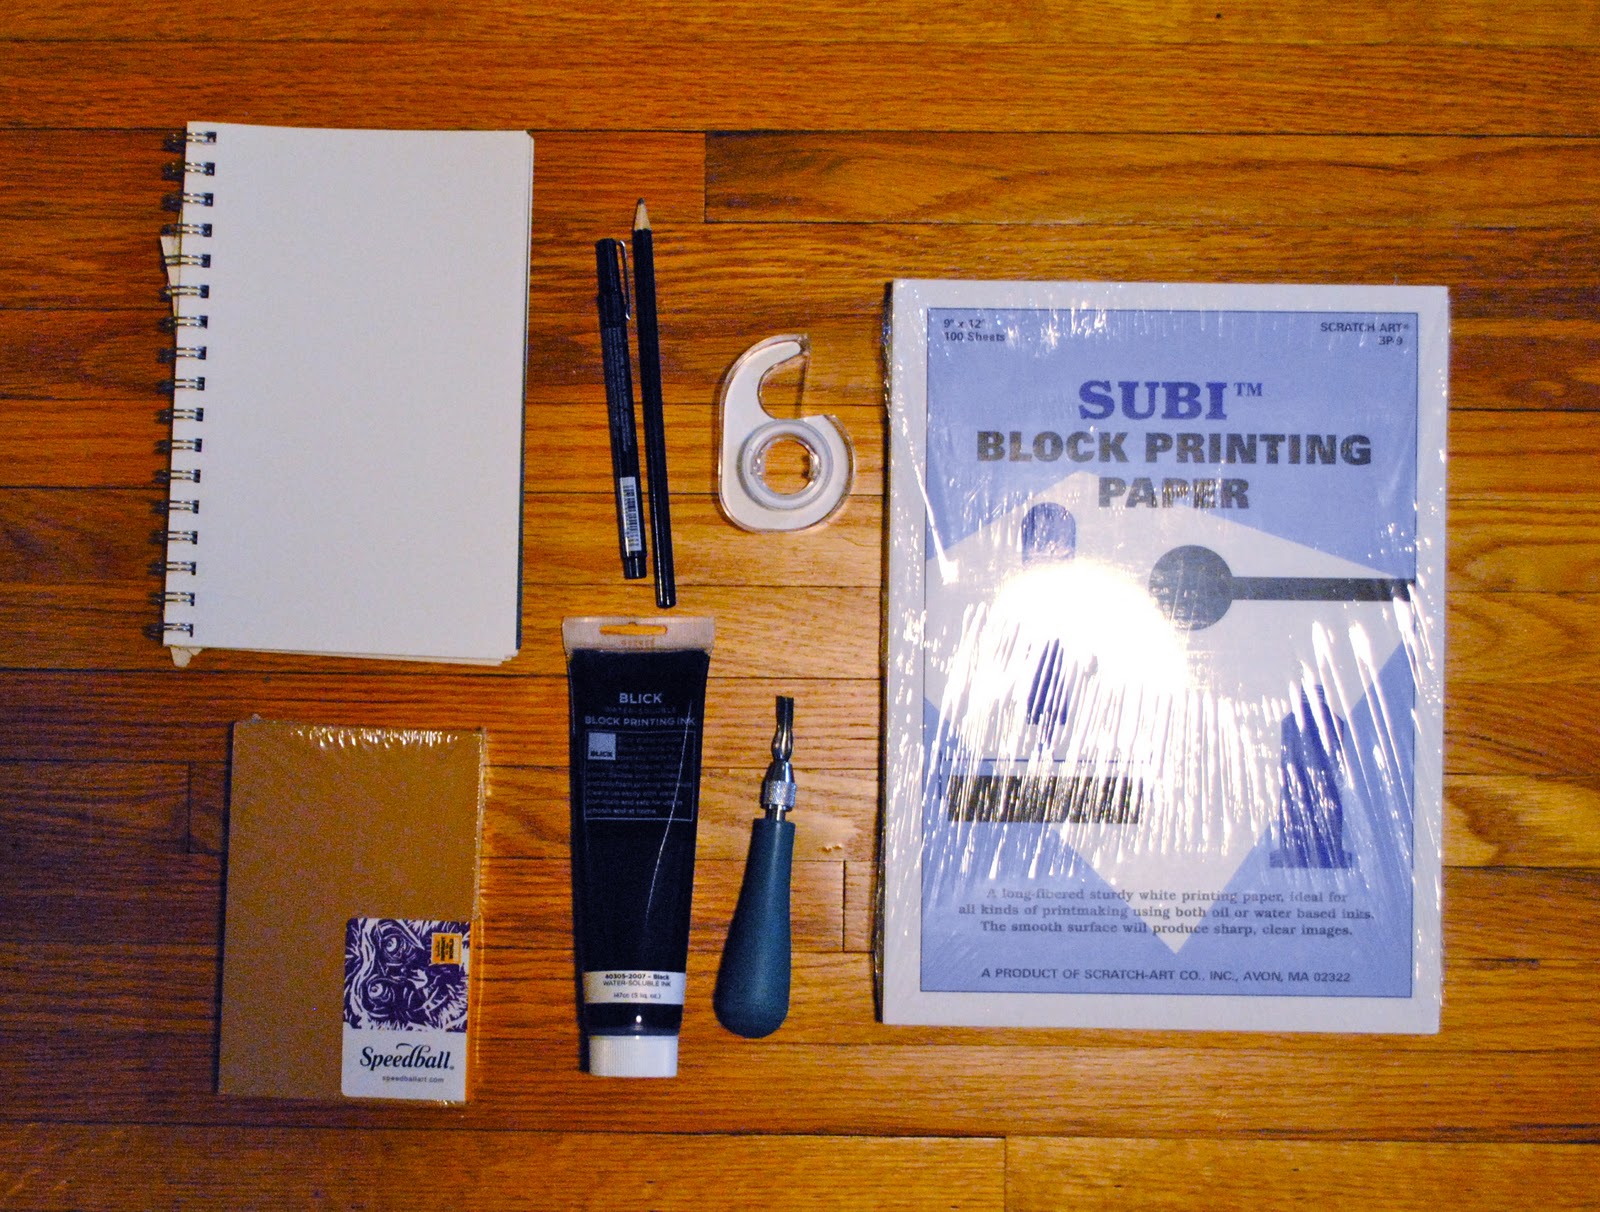
- Soft-lead pencil (for example a B2 or B4 pencil)
- Permanent drawing pen (I use Micron pens but a fine-line Sharpie would work)
- Sketchbook that is bigger than your linoleum block
- Linoleum block (I prefer a mounted block, meaning it's on a wood base and I really like the Speedball blocks or the Dick Blick battleship grey version)
- Scotch tape
- Carving/linoleum cut tool (this should come with 5 or 6 blades varying from sharp V's to wide U's; we'll get to the purposes of these in the second part of the tutorial)
- Paper to print on (I have block printing paper here, but you can print on almost anything and I do, from blank cards to vintage book pages, with the texture of the paper affecting the clarity of the print , often in a cool way, in my opinion)
- Block printing ink (I prefer the water-based; it clean up much easier, no nasty chemicals required)
- A brayer (not pictured) which is a hard rubber roller for distributing the ink over the print
Now on to the how-to...
Step One: Trace the outline of your block onto the sketchpad, so you have a rectangle the size of your block to draw your design or pattern in. I'll usually do these on several sheets of paper so if I screw up I can start fresh without having to get the block back out to trace again.

Step Two: Draw your pattern or design in the rectangle, keeping in mind that this will be a two tone piece--the color of the ink and the color of the paper-- and that this form of carving can only be so intricate. If this is your first carving, start with something simpler until you get used to the feel of carving. My first linocut was two ambitious and basically looked, well, crappy. Once you have finished your drawing, retrace over it very heavily with the pencil (but NOT ink).

Step Three: Cut the rectangle of paper out.

Step Four: Tape the illustration face down to the linoleum-side of the block with a couple of pieces of scotch tape. Just enough to hold it in place.

Step Five: Rub the back of the paper firmly with the rounded end of the linocut tool, all over. It should be good, even pressure, but not enough to rip or tear the paper. If you've done it properly, it will transfer the lead to the linoleum, leaving a faint imprint of your image in reverse (see second picture).


Step Six: Trace over the lines of your imprint with the drawing pen, fixing up any little bits that didn't come out quite right. If need be, mark off the areas you intend to carve with X's or by shading them in a bit, always keeping in mind that what you'll leave behind is what's going to print ink onto the page.

That's the end of part one of the tutorial. The second part should be posted in the next day or two. Please leave comments if you have any questions! Hope this has been helpful!
Ooh -- I am SO glad you are doing this tutorial. I have only carved eraser and soft material, but I have some linoleum blocks I have wanted to try.
ReplyDeleteI also need to better learn how to pull a print.
I posted this on my blog. Will email you to explain.
ReplyDeletethank you for posting this how-to. I have always wanted to know if you could transfer the drawing or if you needed to draw it onto the block. :)
ReplyDeleteSo you've used the microns to 'clean up' the image directly on the block? I'm thinking of doing that as I use Microns quite a bit with other drawings and it seemed to make sense to try it. Great tutorial!
ReplyDeleteTo transfer your design onto the linoleum plate, a carbon paper, if available, can as well be used. Carbon papers were used for type writers.
ReplyDelete