Showing posts with label tutorial. Show all posts

Wednesday, September 21, 2011

Stuff I'd Love To Try: Recycled Magazine Coasters

I have a ton of magazines around my house.  From the free year subscription of Real Simple (my personal favorite magazine) to my husband's issues of Game Infomer to all the copies of Glamour my sister got me for Christmas last year, I am continually tossing magazines in the recycling bin.

Being the artsy type (obviously), every time I have to toss another one in the bin to make room for the three more which have just come in the mail,  I get a little sad inside. My absolute favorite way of creating when I was a teenager was making collages.  I would get posterboard and rubber cement and cut apart all my issues of Seventeen and Cosmopolitan and make everything from color collages to dramatic poetry.  

So even now, as I am thinning the herd, I find myself thinking, what could I have made with this?  Could I have made envelopes for my cards? A new collage (for the first time in a decade)?  Could I have tried an entirely new (to me) form of artwork by saving these lovely, beautiful, colorful magazines?  And then I toss them in the recycling....

Recycled Magazine Coaster Tutorial
Then I came across this tutorial on How About Orange, a blog full of wonderful crafty, upcycled craziness, and so now, every time I go to toss out more magazines I stop and think, maybe next time I'll make coasters...and just maybe I will. 

I haven't yet, but now that I've posted this, maybe one of you will.  And if any of you tries sealing them (with Mod Podge, perhaps?), let me know how it goes. 

Monday, July 4, 2011

Tutorial: Keeping a Marketing Journal

Ever been looking back over the Google Analytics for your Etsy shop and noticed a spike a few weeks back but had no idea what caused it?  After a seeing a few of these and never being able to figure out the cause, I decided to start keeping a marketing journal.


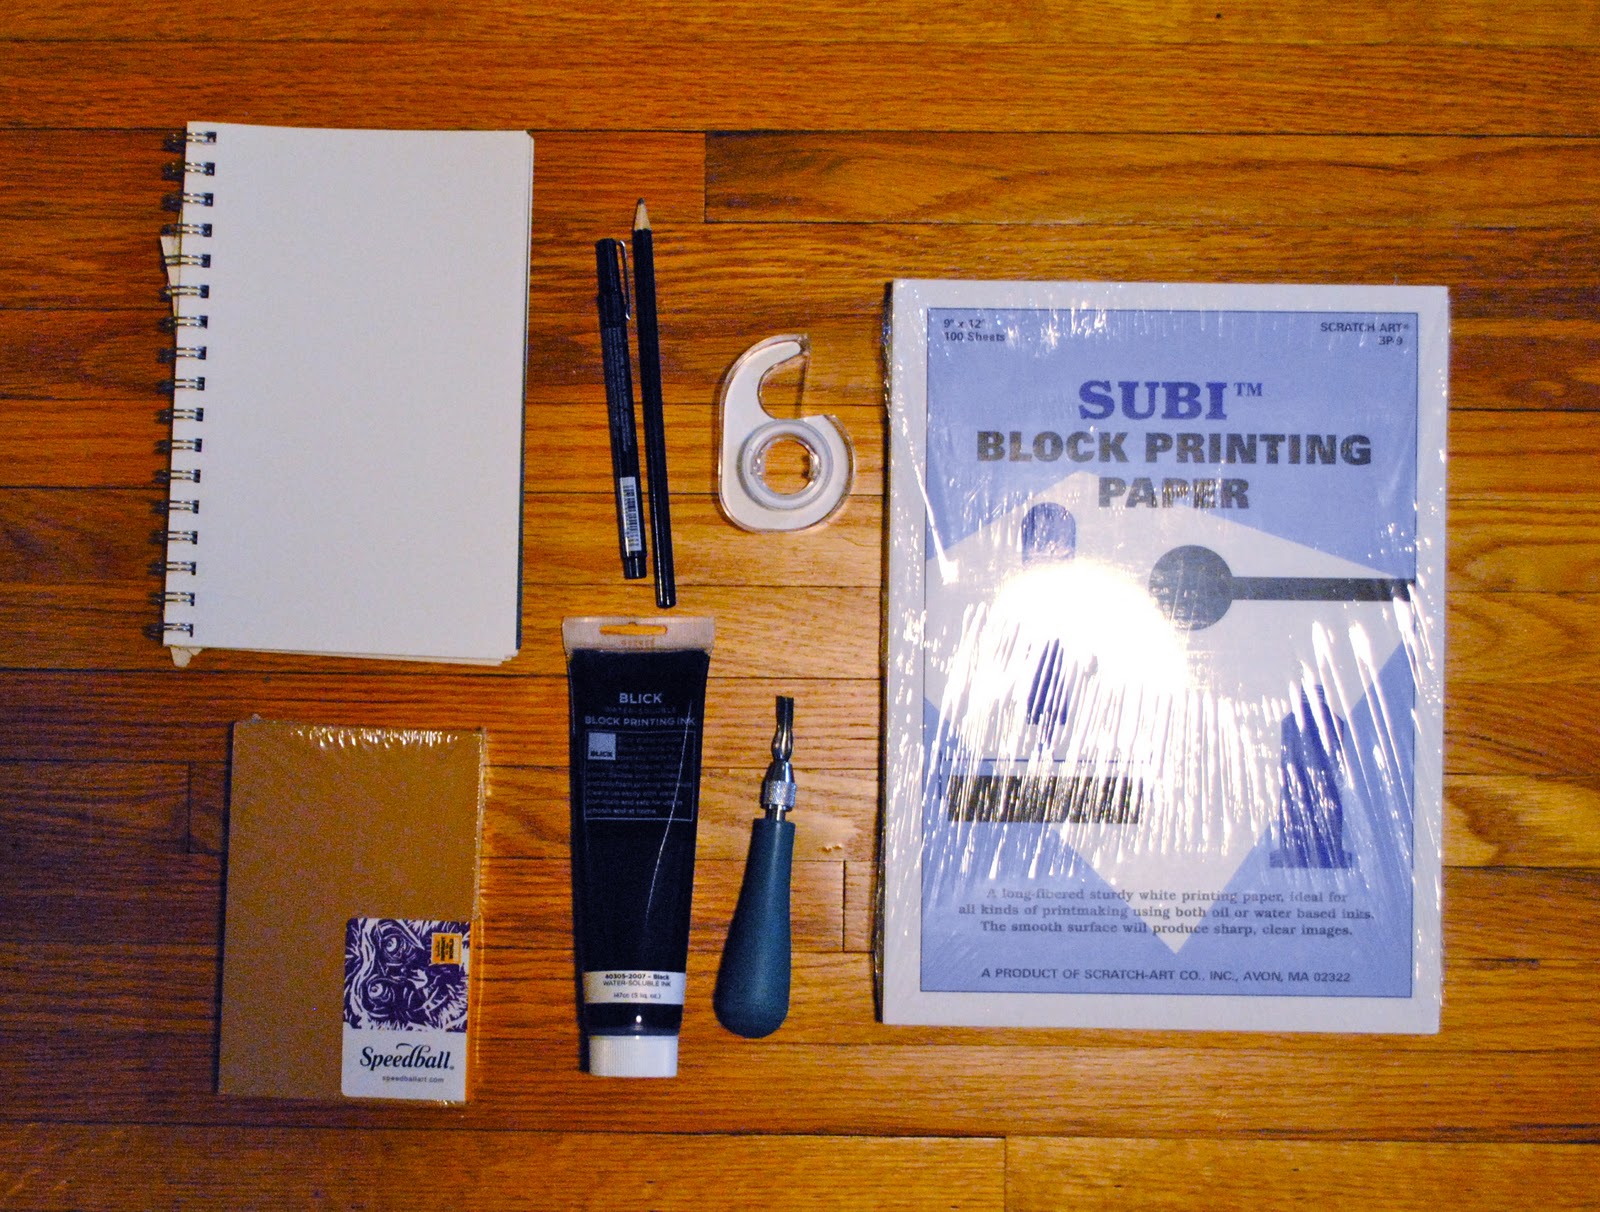
I like to keep mine in a decent sized Moleskine notebook because I like to write things by hand (and it makes it easier to use self-created symbols to mark trends).  However, you could also keep a binder and print out your pages or you could probably make an Excel spreadsheet, if you're good at that kind of thing, but using Excel is going to make it harder to keep notes in the quantity you'll need.

First and foremost, I mark the first several pages for Notes only, so I can write down things like symbols I use, marketing websites, popular items in my shop, or whatever else you might want to note separately.


Second, I began to date pages, keep the top half blank and marking a section of the bottom half as "Results."  Under results, I then marked three more sections: Google Analytics, Etsy and Other.  In Google Analytics, I have six selections: Visits, Pageviews, Pages per Visit, Bounce Rate, Average Time on Site and New Visits.  Under Etsy I marked: Shop Hearts, Item Hearts, Number of Sales (# Sales), Dollar Amount of Sales ($ Sales), and Circles.  Under the Other Heading I put: FB Followers, Twitter Followers, Blog Views and Blog Followers.  Of couse, you can edit this to fit what marketing outlets you use.


Now, I keep this journal with my computer and whenever I do anything that might have an effect on my shop (relisting items, spending mass quantities of time in the forums commenting, linking to my shop on Twitter, making a blog post, building a Treasury, to name a few) I make a note of it in my journal.  I also have shorthand abbreviation (FB for Facebook, TW for Twitter, K for Kaboodle, etc), that I use to save space (all of which are marked in the Notes section at the beginning).


 At the end of the day (I stay up late) or the next morning, I then gather all the data, using color-coded pens.  Green symbolizes an increase, red a decrease, and gray means no change.  If a number has risen for two days, it gets an arrow beside it pointing up.  If it's risen for three or more, it gets two.  The same goes for falling numbers, but with the arrow pointing down.


 The whole process doesn't take more than five minutes each day from start to finish and now I can keep track of what is making a difference in my shop traffic!  Just keep in mind that it's important to keep up with everything.  I will often make notes beyond my numbers if I see in Google Analytics that I got traffic from a specific source, or if I was featured in an unusual amount of treasuries that day.

Hope you find this useful in bringing success to your Etsy shop!

Tuesday, January 18, 2011

Linocut/Block Printing Tutorial: Part Two: From Carving to Printing

Continued from Part One of the Linocut/Block Printing Tutorial

Step Seven:  Attach the #2 blade to your carving tool (this should be a sharp V shape and the number should be etched on the underside of it).  Carve along all of the lines on your block to define the areas you want to carve.  TIP: Before you begin to carve, blow on the block with a hairdryer on high for a few minutes.  This will make it so much easier to carve.  Repeat as necessary throughout the carving process, to keep the linoleum soft.  Also, always keep your hand behind the blade (it can and will gouge out a chunk of flesh given the chance).  Use a firm but steady forward motion.  If it feels like the block is resisting you a lot, let up on the pressure and you might actually find it gets easier (too deep can mean too difficult).


Step Eight:  Attach a rounder U-blade to your linocut tool (the #3 is what I usually use). Carve out all the space between the lines that you intend to remove, remembering that what you remove will be the negative space of the picture, where the paper shows through.

Monday, January 17, 2011

Linocut/Block Printing Tutorial: Part One: Preparing to Carve

What follows is my tutorial for linocut carving, which is basically carving an image into soft linoleum, rolling ink over it and printing it onto a piece of paper.  This is a fairly inexpensive craft as block printing ink can be used on almost any kind of paper, a linoleum block can cost as little as 2$ at your local art store, depending on size (you will NOT find it at a craft store), and a carving tool, with all the requisite blades, can be had for around ten to fifteen dollars.  The ink can be bought for less than five dollars. Almost everything else, you likely have in your house already.

This first part will show all the steps up until just before we carve our print out.  This is the method I follow, and the very most basic things you will need to complete and print a linocut from start to finish are as follows:
  • Soft-lead pencil (for example a B2 or B4 pencil)
  • Permanent drawing pen (I use Micron pens but a fine-line Sharpie would work)
  • Sketchbook that is bigger than your linoleum block
  • Linoleum block (I prefer a mounted block, meaning it's on a wood base and I really like the Speedball blocks or the Dick Blick battleship grey version)
  • Scotch tape
  • Carving/linoleum cut tool (this should come with 5 or 6 blades varying from sharp V's to wide U's; we'll get to the purposes of these in the second part of the tutorial)
  • Paper to print on (I have block printing paper here, but you can print on almost anything and I do, from blank cards to vintage book pages, with the texture of the paper affecting the clarity of the print , often in a cool way, in my opinion)
  • Block printing ink (I prefer the water-based; it clean up much easier, no nasty chemicals required)
  • A brayer (not pictured) which is a hard rubber roller for distributing the ink over the print
Now on to the how-to...